Installing Deck Tiles on Grass? DIY Solutions You Need to Know!
Read time: 6 min
Transforming your outdoor or indoor space can feel like an overwhelming project with endless possibilities. But don't worry, we're here to help you create the perfect DIY space that’s both beautiful and functional.
Installing Decking Tiles on Grass with DECKO Tiles
Are you dreaming of a beautiful outdoor space but not sure if you can install deck tiles on grass? You’re not alone! Many homeowners wonder if they can skip the hassle of removing grass and laying concrete by simply installing deck tiles directly over their lawn. While installing deck tiles on grass may seem like an easy option, grass is an unstable and uneven surface. Over time, the grass can grow, shift, and cause your deck tiles to become uneven or even damaged due to trapped moisture.
In this blog post, we’ll explore the best methods for installing deck tiles on grass and provide practical tips to ensure a stable, durable surface that lasts. Whether you’re planning a new patio, a garden walkway, or a cozy seating area, this guide will help you create a stunning, functional outdoor space with ease. Let’s dive into the details!
How to Install Deck Tiles on Grass: DIY Tips
Because we are asked how to install deck tiles on grass we thought this might help. Here are two great options for creating a stable surface for your deck tiles while working around the challenges of grass.
Option 1: Use Paver Base Panels
One of the easiest and most effective DIY solutions for installing deck tiles over grass is to use paver base panels. These panels are lightweight, durable, and provide a stable, level surface for your deck tiles. The best part? You don’t need to dig up your entire lawn to install them.
Materials You’ll Need:
- Paver base panels
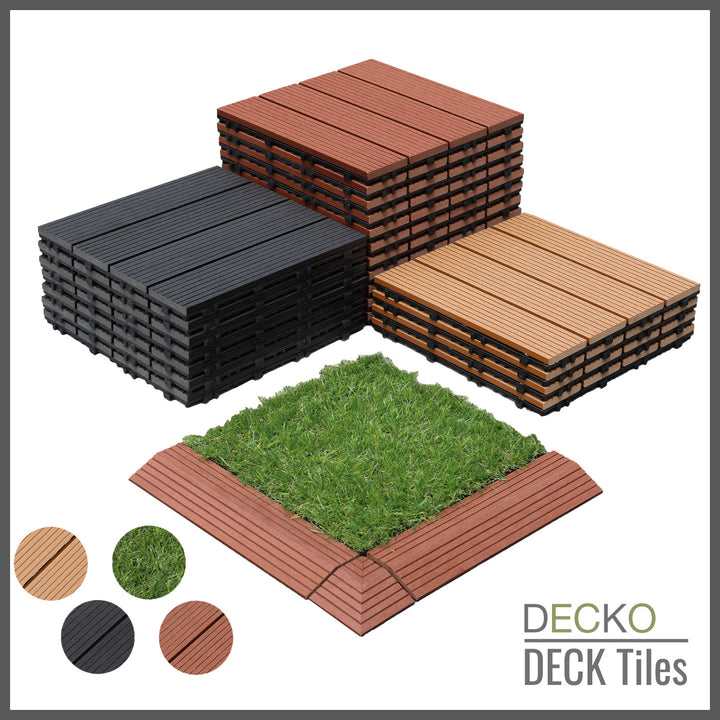
- Deck tiles (such as DECKO deck tiles)
- Landscape fabric (optional)
- Gravel or sand (optional)
- A rake and level
Step-by-Step Instructions:
- Prep the Area: Start by choosing the location for your deck tile installation. Use a rake to clear away any debris, rocks, or uneven patches of grass. If you want to prevent weeds from growing between your tiles, you can lay landscape fabric over the grass at this point.
- Lay the Paver Base Panels: Next, place the paver base panels directly on top of a layer of 1/2inch sand that has be levelled. Ensure there is adequate slope of run-off These panels are designed to interlock and provide a stable foundation for your deck tiles. Make sure the panels are evenly spaced and level before moving on to the next step.
- Install the Deck Tiles: Once the paver base panels are in place, it’s time to install the deck tiles. Simply snap the tiles together, following the pattern and layout you’ve planned for your space. DECKO deck tiles are an excellent choice because they’re easy to install and designed to withstand outdoor elements.
- Check for Stability: After all the tiles are in place, give them a quick check to ensure they’re stable and level. If needed, you can add a layer of gravel or sand underneath the paver base panels to level out any uneven areas.
- Enjoy Your New Outdoor Space! Congratulations! You’ve just created a beautiful, functional outdoor space using deck tiles. Whether you’re setting up a seating area, an outdoor dining space, or a cozy nook, your new deck will be the perfect addition to your home.
“I feel that the best way to enjoy your own garden is to create a space that feels like a retreat from the outside world—a peaceful, beautiful sanctuary.” - Oprah Winfrey
Option 2: Create a Solid Sub-Base with Road Base and Pavers
If you’re looking for a more permanent solution, creating a solid sub-base with road base and pavers is another excellent option for installing deck tiles over grass. This method requires a bit more effort, but it ensures maximum stability and longevity for your deck tiles.
Materials You’ll Need:
- Road base or gravel
- Sand
- Second-hand pavers or stepping stones
- Deck tiles
- A rake, level, and tamper
Step-by-Step Instructions:
- Remove the Grass: Start by marking the area where you want to install the deck tiles. Use a shovel to remove the grass and about 75-100mm of soil, creating a level surface.
- Lay the Road Base: Spread a layer of road base or gravel over the cleared area. Use a rake to distribute the material evenly, then use a tamper to compact the base until it’s firm and level. This step creates a strong foundation for your deck tiles.
- Add Sand: Once the road base is compacted, spread a layer of sand over the top. This helps to create an even surface for the pavers and deck tiles.
- Lay the Pavers: Place second-hand pavers or stepping stones over the sand, spacing them evenly across the area. The pavers will act as a sub-base for your deck tiles, preventing them from sinking into the ground over time.
- Install the Deck Tiles: Now it’s time to install the deck tiles. Lay the tiles directly on top of the pavers, snapping them together as you go. DECKO deck tiles are designed to interlock easily, making this step quick and hassle-free.
- Check for Leveling: After installing the tiles, double-check the entire surface to ensure everything is level and secure. If any areas seem uneven, adjust the sand or pavers as needed.
- Finish and Enjoy: You’re done! With this method, you’ve created a stable, durable base for your deck tiles that will last for years to come. Now, you can enjoy your outdoor space with confidence, knowing it’s built to withstand both foot traffic and the elements.

Key Benefits of Using Deck Tiles
Decking tiles, especially those from DECKO, are a fantastic choice for DIY outdoor projects. Here’s why:
- Easy Installation: One of the biggest benefits of deck tiles is their ease of installation. You don’t need any special tools or skills to install them, making this a perfect DIY project for homeowners of all experience levels.
- Durability: DECKO deck tiles are designed to withstand harsh outdoor conditions, including rain, sun, and heavy foot traffic. With proper installation, you can expect your tiles to last for many years with minimal maintenance.
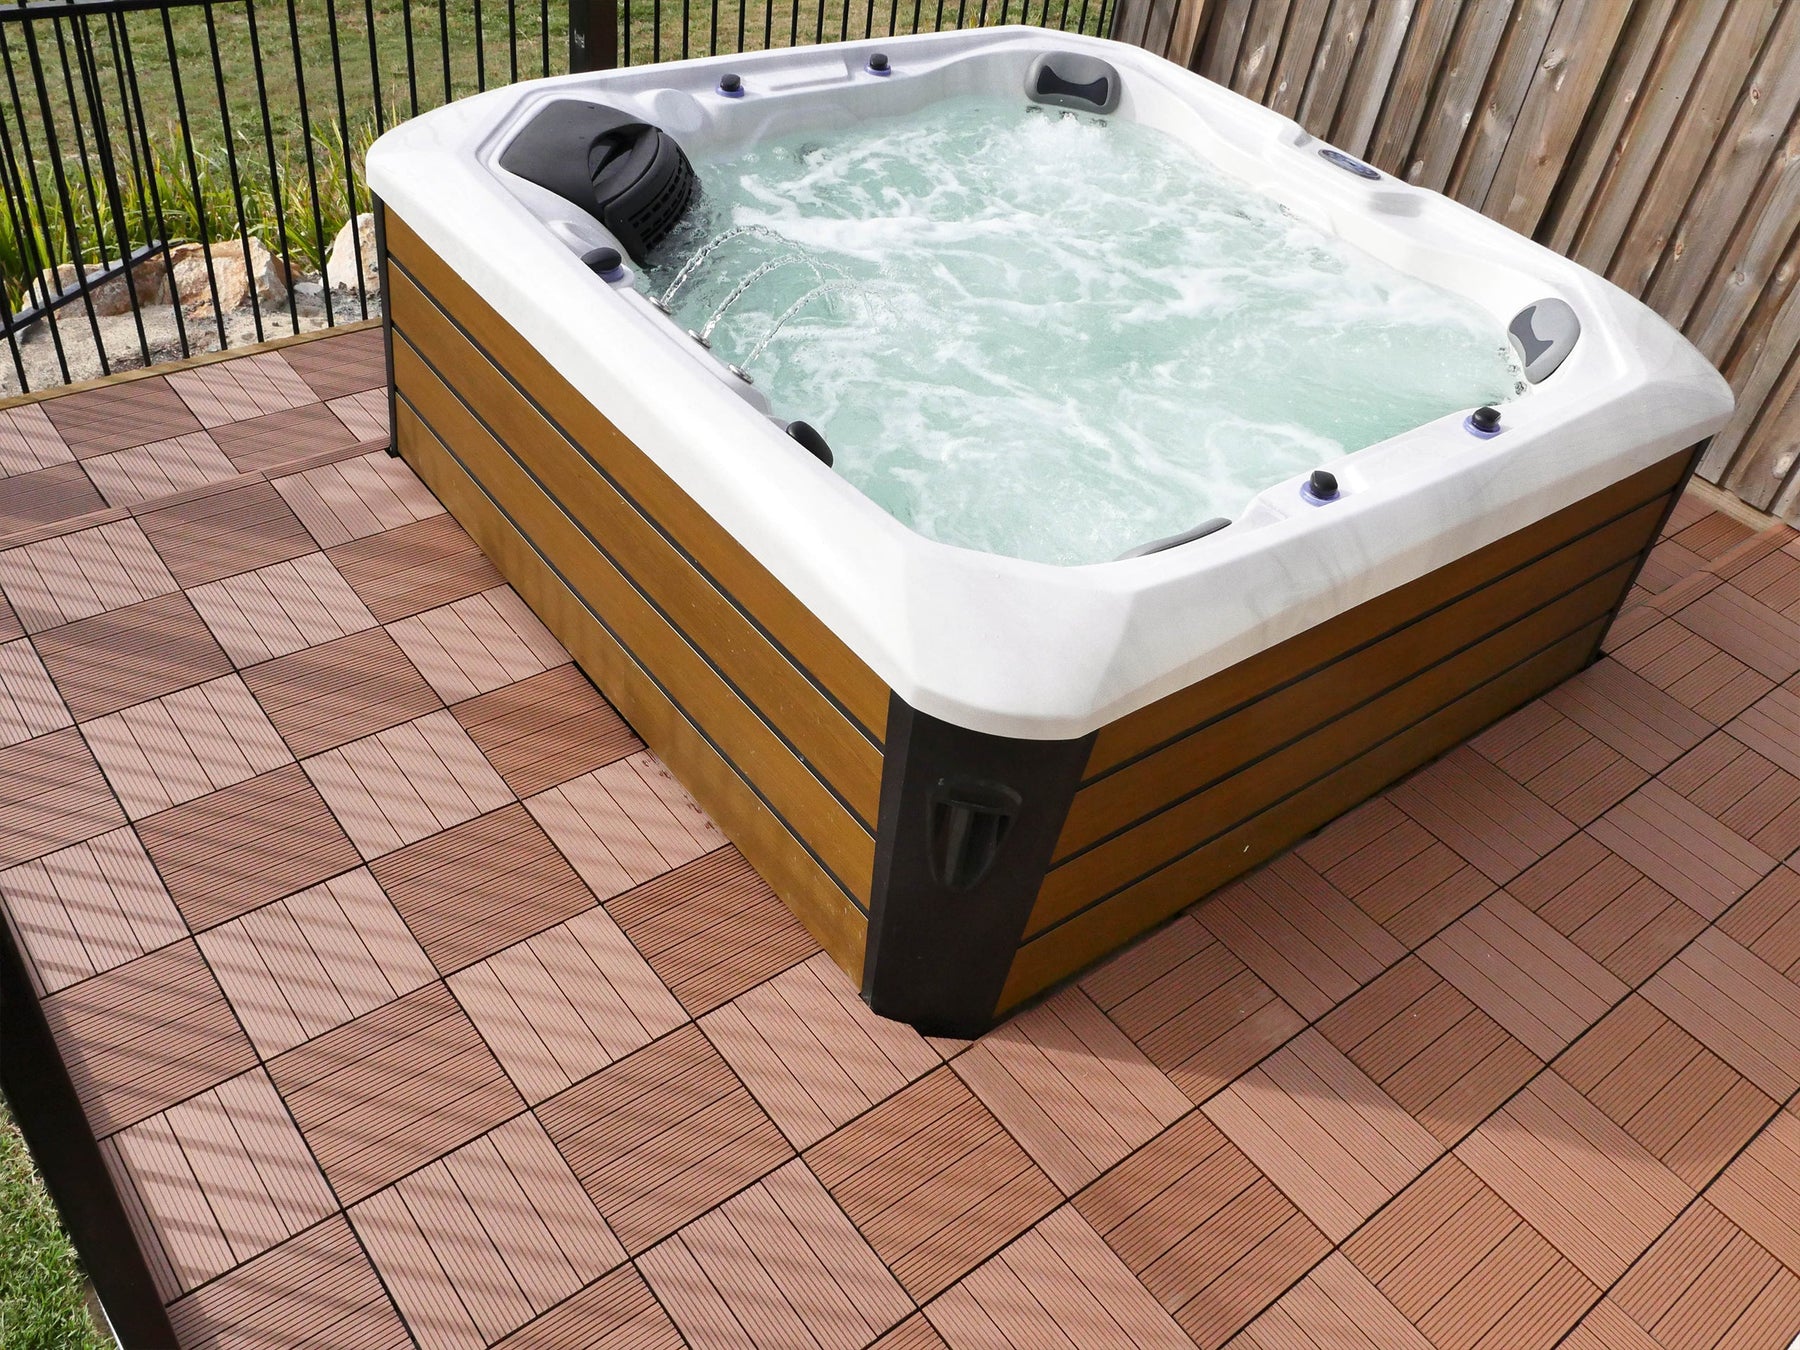
- Versatility: Deck tiles can be used in various outdoor spaces, including patios, balconies, garden walkways, and even around pools. They’re a versatile solution for creating beautiful outdoor areas.
- Affordable: Installing deck tiles is a cost-effective way to upgrade your outdoor space without breaking the bank. With options like using second-hand pavers or lightweight paver base panels, you can save on both materials and labour.
Conclusion: Achieve a Beautiful Outdoor Space with DECKO Deck Tiles
Creating an outdoor space you love doesn’t have to be complicated or expensive. With deck tiles, you can easily transform your backyard, patio, or garden into a functional and stylish area. While you can’t install deck tiles on grass directly, the DIY solutions we’ve shared—using paver base panels or creating a solid sub-base with pavers—offer practical, affordable ways to achieve a stable, long-lasting deck tile installation.
By following these easy steps, you can enjoy the beauty and functionality of deck tiles in no time. So, why wait? Start your next DIY project today and experience the difference that DECKO deck tiles can make in your outdoor space!


