How to Install Green Wall Panels on a Fence
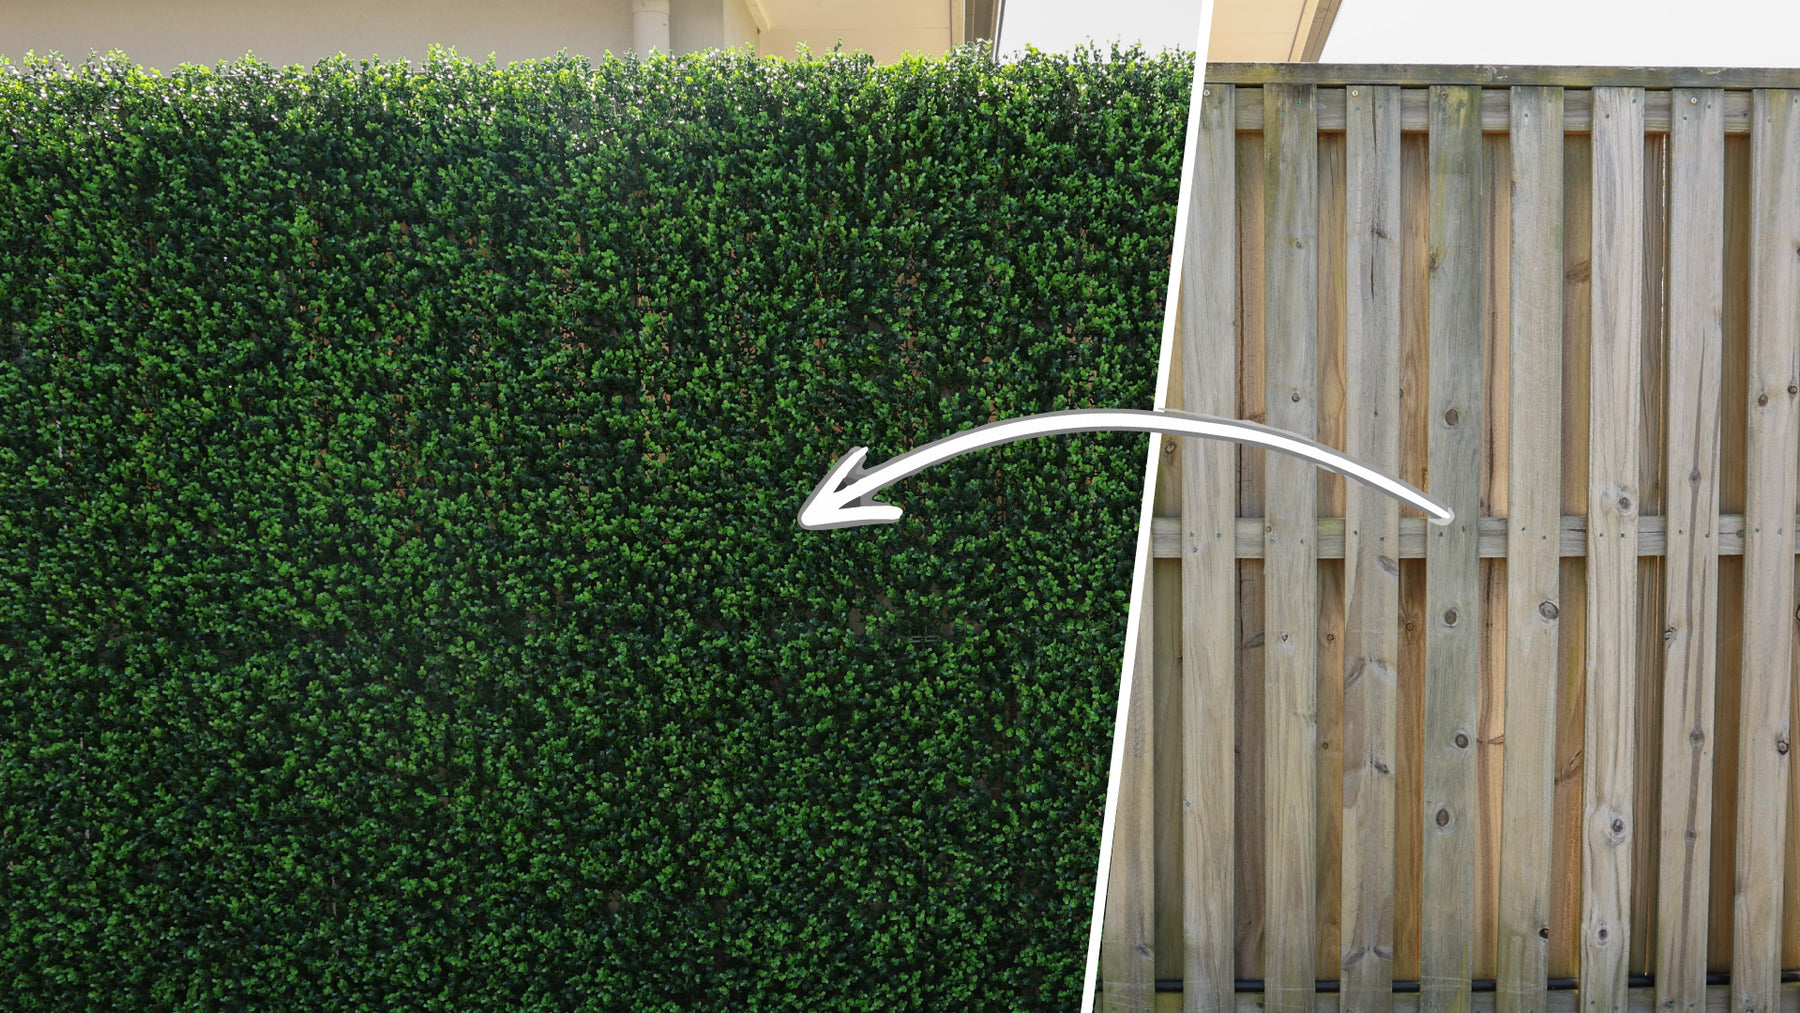
Looking to transform your outdoor space with lush greenery? Installing DECKO Verdure Green Wall panels is a quick and easy DIY project that will take your space from ordinary to stunning. Check out our YouTube tutorial to see the transformation in action! Follow these steps for a flawless installation on your timber fence.
Watch the full video here or read on for the step-by-step guide.
What You’ll Need
- DECKO Verdure Green Wall Panels
- Staple Gun with Heavy-Duty Staples (stainless steel or galvanized to prevent rust)
- Scissors (for cutting panels if needed)
- Zip Ties (optional, for added security)
- Black Landscaping Fabric (for a more vibrant look by blocking light from behind)
Step 1: Prep and Plan
Before getting started, make sure your fence is clean and prepped. Measure your fence and decide on the layout for your green wall panels. If your fence has any quirks, like uneven surfaces, plan around these to ensure a smooth installation.
Pro DIY Tip: Installing black landscaping fabric behind your panels will make the green wall stand out more and prevent any light from bleeding through the gaps. Simply staple or attach the fabric to the fence before proceeding with the panels.
Step 2: Start with the First Panel
Begin attaching your panels at the top corner of the fence. This will give you a secure starting point for the rest of the installation. Secure the panel using your staple gun along the edges and corners. If you prefer, you can use screws and washers (preferably black) for a more temporary setup.
The DECKO Verdure panels come with an easy hook-and-loop system, allowing you to connect them seamlessly. Simply align the next panel beside the first one, clip them together, and continue this process across and down the fence.
Step 3: Secure and Adjust
Attaching multiple panels might get tough on your hands. If you don't have specialized tools, a simple open-ended screwdriver can help. Apply pressure to the clips with the screwdriver to secure the panels without strain.
💡 Pro Tip: We share a great trick in the video for reducing hand strain—watch it here!
Step 4: Make Necessary Cuts
If your fence dimensions don’t match up perfectly with the panel sizes, you might need to cut the panels. Use scissors to cut along the grid, making sure to cut below the attachment points to keep the greenery intact.
✂️ Watch and Learn: See how to cut panels to fit your space in our video guide.
Step 5: Use Zip Ties for Extra Security (Optional)
If you need extra reinforcement—especially if you've had to cut panels—zip ties can help. Simply loop them around the panel edges or between panels to tighten any loose sections.
Step 6: Staple or Screw in Place
Using a staple gun, add staples along the edges and corners to ensure the panels are securely attached. T50-type heavy-duty staples are ideal. Alternatively, if you're looking for a removable setup, screws with washers work well. Just move some foliage aside, attach the screw, and let the greenery hide the hardware afterward.
🔩 Need More Detail? Watch how we securely attach the panels with both staples and screws in the video.
Step 7: Final Check and Maintenance Tips
Once all the panels are in place, step back and inspect your work. Tighten any loose staples or screws, and make sure there are no loose or flapping sections.
Maintenance Tip: DECKO Verdure Green Wall panels are practically maintenance-free. Just give them a rinse with a garden hose every so often to keep them looking fresh. No watering, pruning, or extra upkeep is required.
🎥 Finishing Touches: Get an overview of the final results and quick maintenance tips in the video wrap-up.
And that’s it! With DECKO Verdure Green Wall panels, you’ve added a lush, low-maintenance green wall to your outdoor space. For more DIY how-tos, check out other videos in our "Ultimate Backyard Makeover" series, and don't forget to like and subscribe for more tips and inspiration!


