Start Strategically
*Watch this quick video first as it covers almost all questions.
Start the installation at the outer edges of your area using full tiles or ramp edges. Make cuts against the wall/home to hide.
Align tiles or ramps carefully for a straight and professional starting point.
Clip tiles together by aligning the interlocking edges and pressing firmly.
Use dilation gaps in areas between two walls or large, long spaces to allow tiles to expand and prevent warping or damage from thermal expansion. Contact us for personalised specific information.
Cutting Tiles
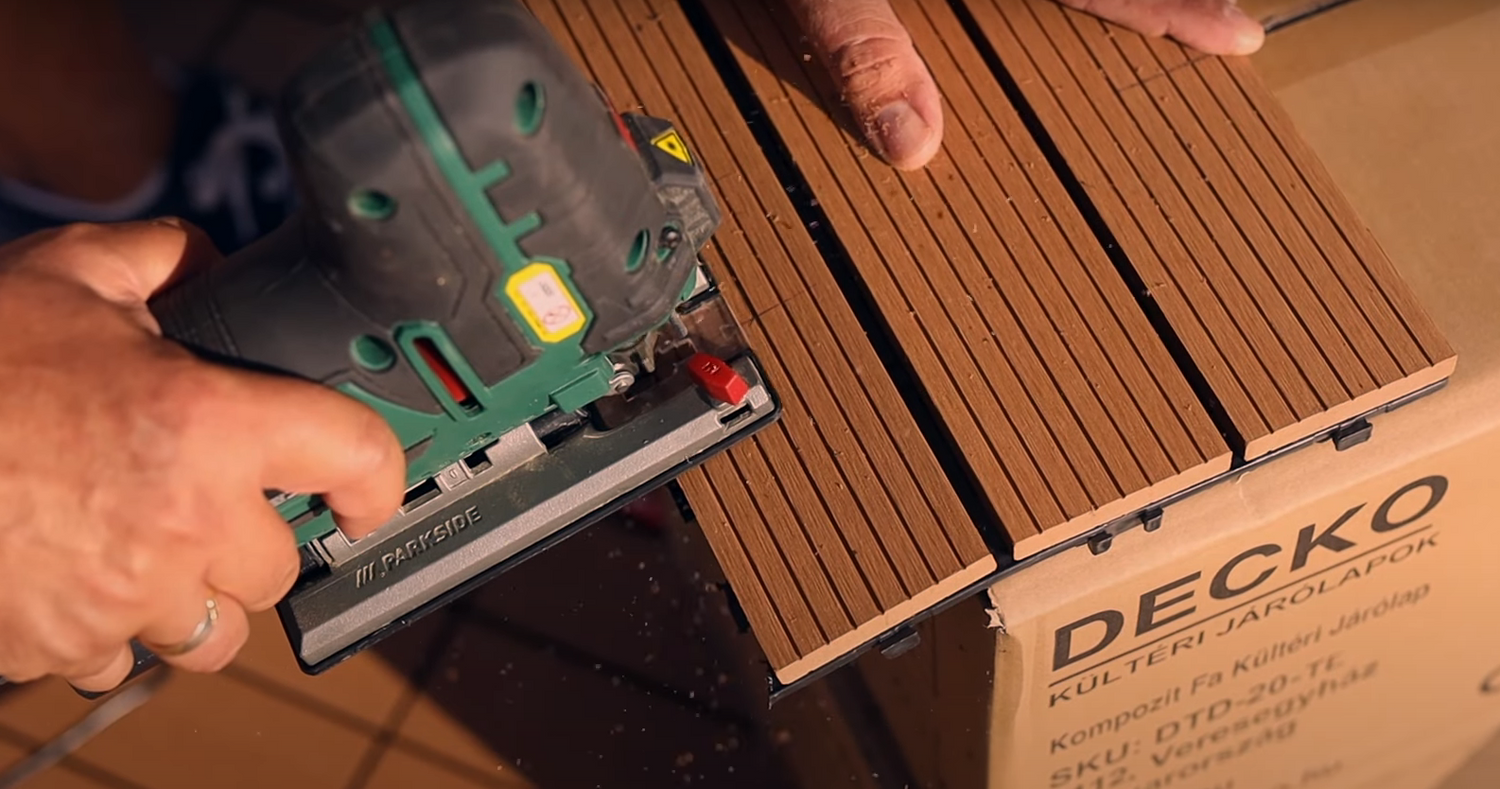
Use any wood-cutting saw to trim tiles while maintaining their structural integrity.
For Grass Tiles: Cut the mesh backing with a grinder, Use a Stanley knife for the membrane.
For Straight Cuts use a drop saw or hand saw.
For curved cuts you will want to use a jigsaw.
Ramp Edges
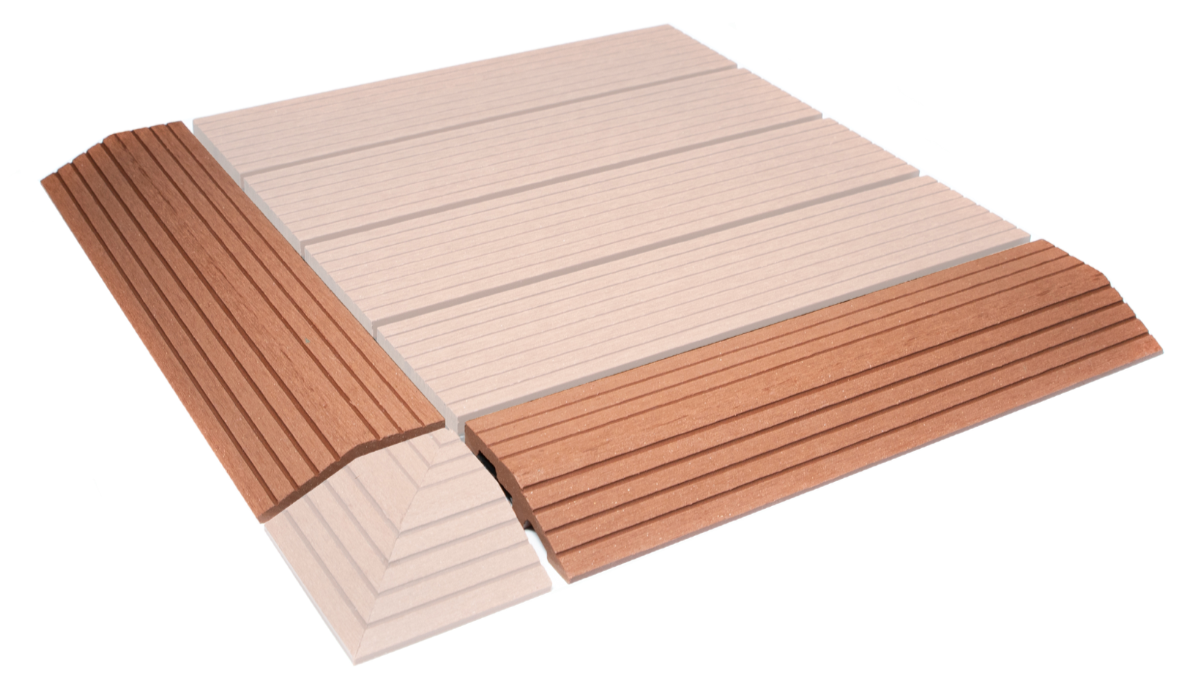
Ramp edges are optional but recommended for areas ending on walkways or frequently used spaces.
Consider they width of 80 mm to add or discount from your measurements.
We dont recomend using at the edge of balconies, against rock/gravel, garden bed or other water run off areas as they restrict water flow.
It is a good finishing piece but not necessary and so are avaliable for purchase separately.
Adhesive Use
Large Interlocked Areas: No glue needed. The Weight of the connected tiles and surface area are more than sufficent.
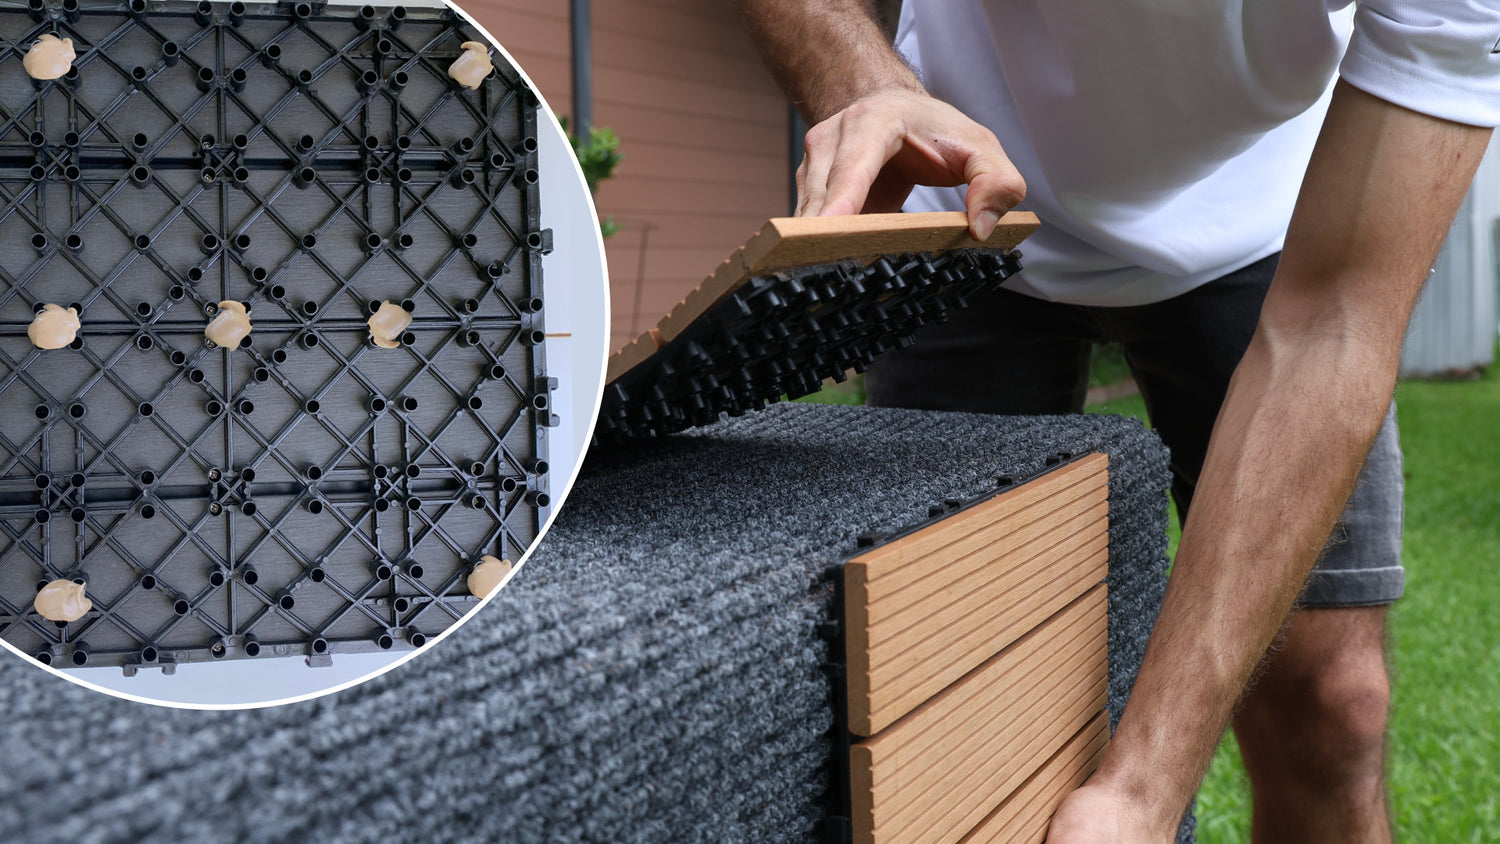
Stairs, Vertical Surfaces, or Small Detached Areas: Use polyurethane-based glue or liquid nails applied in dots
Video Tutorial
This short video demonstrates how to use the tiles vertically as a fascia or stair.
Care & Maintenance
Factory Dust Staining
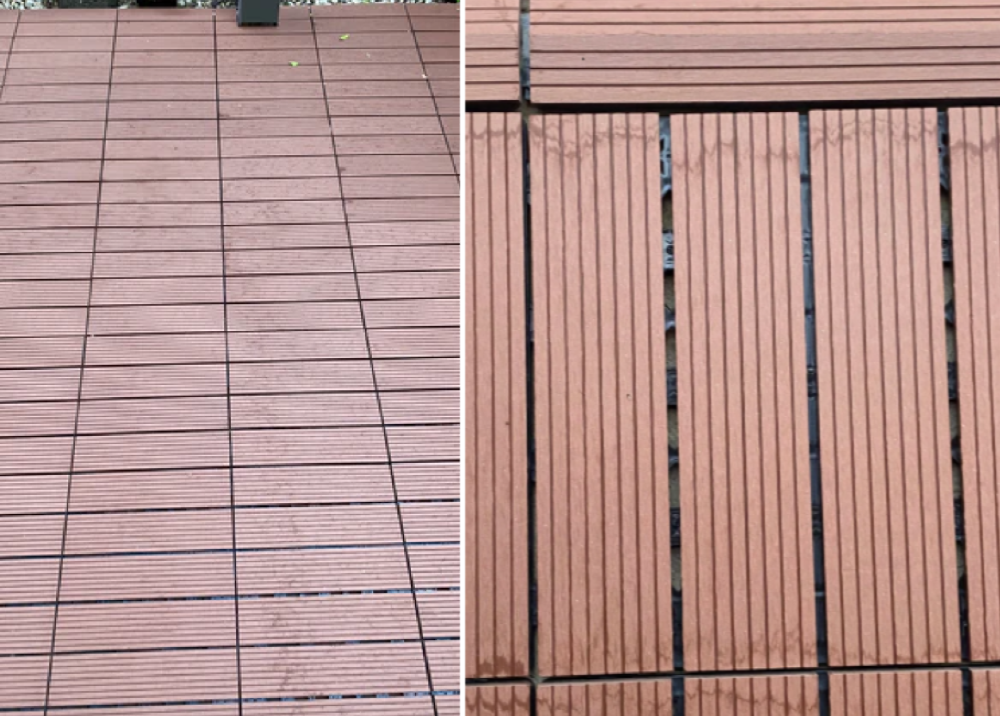
After installation, light rain or moisture may cause temporary staining on the tiles.
This happens because of residual factory dust on the surface.
Light rain activates the dust, which may float and leave marks as it dries.
Heavy rain will naturally wash away the dust, resolving the issue.
For covered areas, use a hose and mop the tiles twice for the best results. Or pressure wash it.
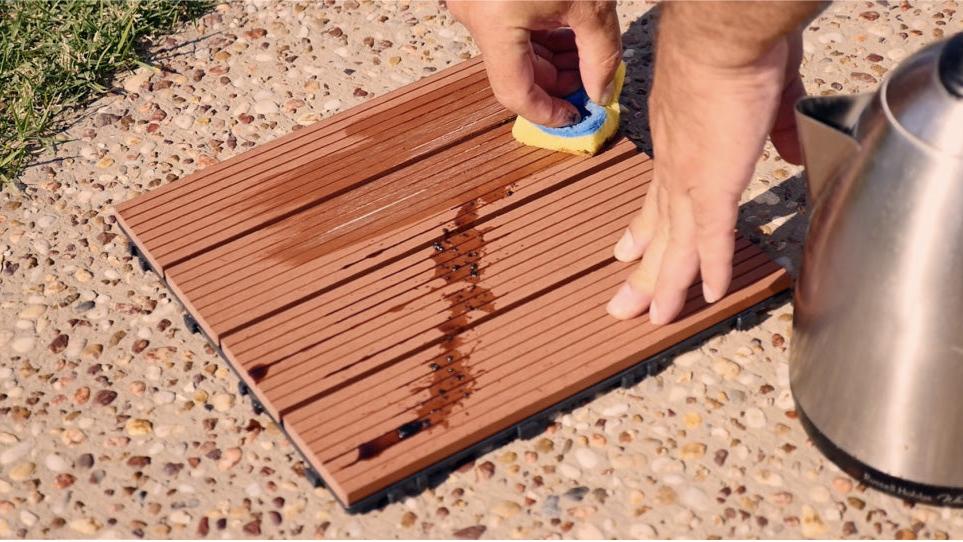
Greasy Stain Cleaning
For cleaning BBQ grease or similar accidents:
Boil water in a kettle and pour it directly onto the affected area.
Use a sponge mop or a stiff brush to scrub along the grain of the boards.
Add a mild soap for better grease removal.
Avoid heavy commercial cleaning solutions or bleach, as these can damage the boards or significantly alter their color.
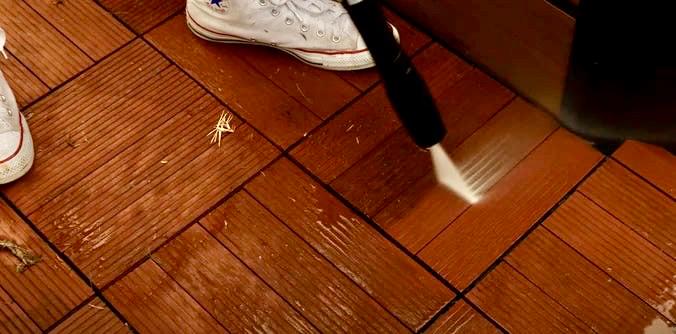
Dirt Accumulation
We let this deck sit for about 2 years in direct sun and with no cover. One blast of the pressure washer and it looked brand new!
We recommend a maintenance clean using a high-pressure washer every 6-12 months. As 55% wood content with time can create a dusty surface on the sun and weather conditions. This High Pressure cleaning will remove that.
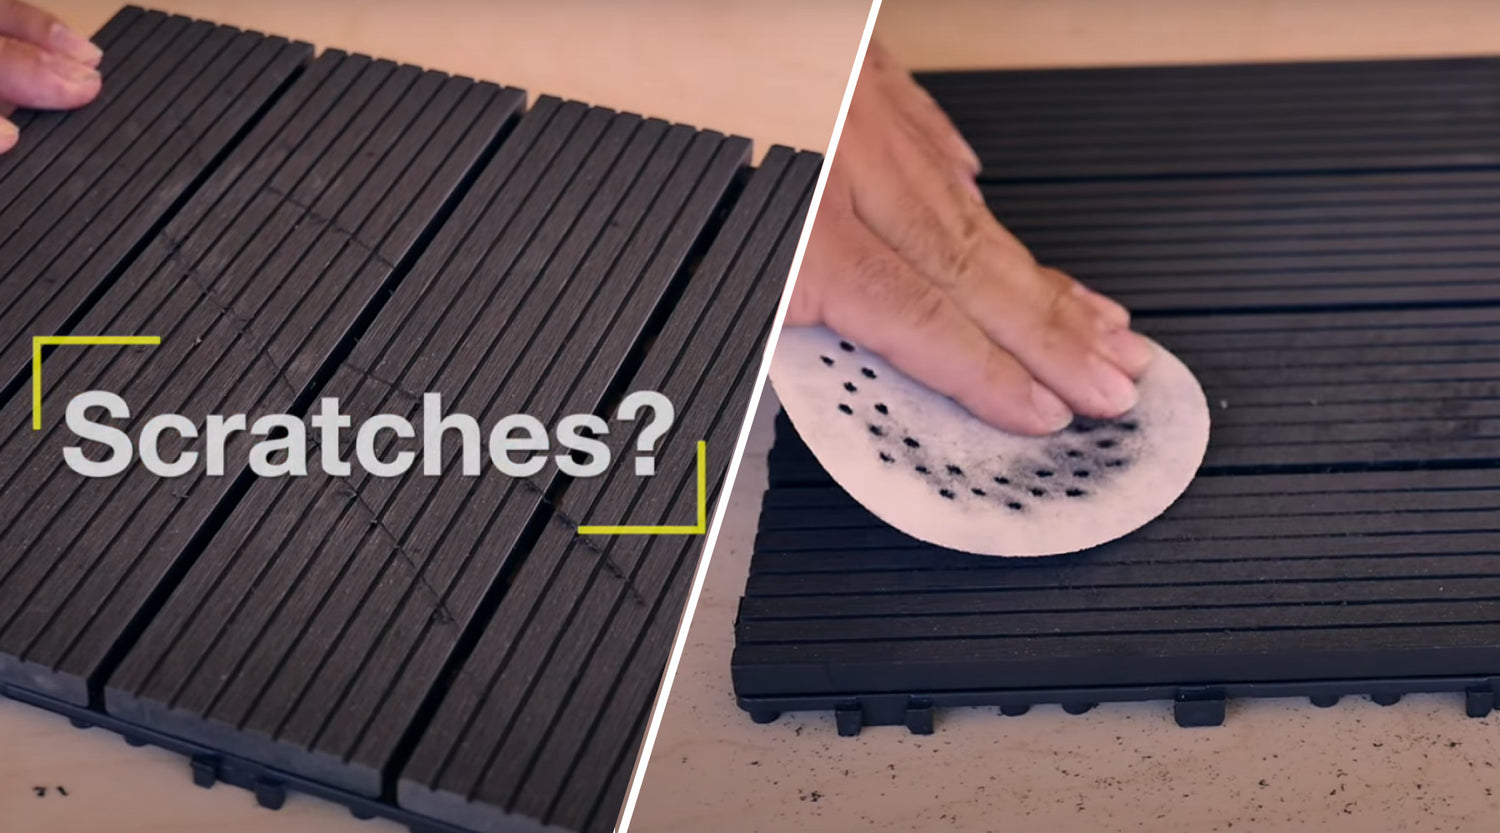
Sanding Out Scratches
For stubborn stains or scratches that cannot be removed, you can use 40-grade sandpaper.
Sand the top layer of the deck parallel to the surface grain until the stain or scratch disappears.
Warning: Sanding is abrasive and reduces the deck material's thickness.
Repeated or incorrect sanding can ruin the product.
Decko is not responsible for damages caused by sanding.
Other Notable Information
Painting, Sealing and Staining: We strongly recommend against applying a 3rd party coating to DECKO products. However, if you do decide for some reason to apply an external coating it should be done when the deck is fully cleaned and dried. Be aware that if you do apply an external coating, your warranty will be voided.
Pooling Water: Do not install tiles in areas without proper drainage, as prolonged exposure to pooling water can lead to damage. Ensure the installation site allows water to drain effectively, preventing stagnant water and allowing the tiles to dry periodically.
Disclaimers:
Safety First - Handling & Care of DECKO Tiles: Our 12.5 kg carton boxes contain up to 11 tiles and it is safe to handle and transport in this way. The carton boxes are manufactured in an eco-friendly way from recycled paper. Please recycle the boxes by disposing of them at your local card board recyclers or placing them in the recycling bin.
When tiles are stacked on top of each other during install they can slip, so do not walk on stacked, piled or loose tiles.
Please store DECKO tiles in the box in a dry area until installation to keep the integrity of the boxes for handling, even though the product inside is waterproof.
Skin contact: If skin or hair comes in contact with dust from the product, wash with soap and water.
Eye contact: If dust enters the eyes, wash out immediately with water. In all cases of eye contamination, it is a sensible precaution to seek medical advice.
These guidelines are for demonstration purposes only, and DECKO is not responsible for any issues arising from improper installation. It is the customer's responsibility to follow the instructions carefully and ensure a safe installation. Failure to adhere to these guidelines may void the product warranty.
